Using Sony α7 IV FTP transfer function with vsftpd

I decided to start using the FTP transfer function on my Sony α7 IV camera and found it less straightforward than I expected, so I thought I’d write a short guide on setting up a basic vsftpd server and connecting the camera to it.

Note on (missing) SFTP support

At the time of writing, the α7 IV lacks support for the SSH (Secure) File Transfer Protocol (SFTP). The α1, α7S III and α9 III support it with firmware versions 2.00, 3.00 and 2.00, respectively, and the α1 II supports it out of the box. Those firmware versions were released in March 2024 (alongside α7 IV firmware version 3.00) and it seems unlikely at this point that Sony will add it to other models already on the market. I expect the α7 V to include it.

Given the lack of SFTP support, the next best option is to use FTP Secure (FTPS).

vsftpd setup

With a machine running Ubuntu Server 24.04, I configured vsftpd as follows:

  1. apt install vsftpd
  2. Get a certificate for your hostname if you don’t have one. I used Let’s Encrypt: certbot certonly --standalone -d ftp.example.com
  3. Create a user for FTP access (set a secure password, but remember you’ll have to enter it through the camera’s cumbersome UI): adduser cameraftp
  4. Add the username to an FTP users whitelist: echo "cameraftp" > /etc/vsftpd.userlist
  5. Create a directory in /srv/ftp for uploads and grant ownership to the FTP user: mkdir /srv/ftp/camera && chown cameraftp:cameraftp /srv/ftp/camera
  6. Configure vsftpd. I changed the following settings from the Ubuntu defaults:
    write_enable=YES (so the camera can upload files)
    chroot_local_user=YES (isolate FTP users from the rest of the system)
    local_root=/srv/ftp (set the chroot jail to a directory where every part (/srv and /srv/ftp) is owned by root and not writable by any other user or group)
    rsa_cert_file=/etc/letsencrypt/live/ftp.example.com/fullchain.pem
    rsa_private_key_file=/etc/letsencrypt/live/ftp.example.com/privkey.pem
    ssl_enable=YES
    ssl_ciphers=HIGH
    pasv_enable=YES (passive mode appears to be required)
    pasv_min_port=<some_port>
    pasv_max_port=<some_higher_port> (in practice, my camera seems to transfer at most 2 files at a time, so you shouldn’t need to open a huge range if you’re not using the FTP server for other purposes; make sure these ports (and port 21) are open on your network)
    userlist_enable=YES
    userlist_file=/etc/vsftpd.userlist (the file configured in step 4)
    userlist_deny=NO (whitelist instead of blacklist)
  7. Restart vsftpd: systemctl restart vsftpd

Try connecting with an FTP client. You should see a directory camera that is writable. The root directory should be read-only, and you should have no other access to the filesystem.

Camera setup

I then configured my camera as follows:

  1. Get the root certificate for your TLS certificate. For my Let’s Encrypt certificate, this was the ISRG Root X1 CA (the name being listed in the output of openssl verify -show_chain /etc/letsencrypt/live/ftp.example.com/chain.pem). I downloaded the PEM from Let’s Encrypt’s website: https://letsencrypt.org/certs/isrgrootx1.pem
  2. Rename the root certificate to cacert.pem and copy it to the root directory of the memory card in Slot 1.
  3. Import the root certificate: Network → Network Option → Import Root Certificate → FTP Function
  4. Configure the FTP Transfer Function: Network → FTP Transfer → FTP Transfer Func.
    Server Setting → Server 1 → Destination Settings → Host Name: ftp.example.com
    Server Setting → Server 1 → Destination Settings → Secure Protocol: On
    Server Setting → Server 1 → Destination Settings → Root Certificate Error: Does Not Connect (I couldn’t make my camera connect without the root certificate installed, regardless of this setting, so you might as well pick the secure option)
    Server Setting → Server 1 → Destination Settings → Port: 21
    Server Setting → Server 1 → Directory Settings → Specify Directory: camera (matching the directory you created in /srv/ftp)
    Server Setting → Server 1 → User Info Settings → User: cameraftp
    Server Setting → Server 1 → User Info Settings → Password: <password>
    FTP Function: On
  5. Assuming you are able to connect and have at least 1 photo saved, you should now be able to execute an FTP Transfer.

And that’s it. You can now configure Auto FTP Transfer to back up your photos and videos whenever your camera has internet access.
Enabling Suica support for a non-Japanese Fitbit device/account

TL;DR: change your Fitbit account country to Japan here (not in the app).

Whether you can actually add funds with a non-Japan-issued credit or debit card is a separate matter.

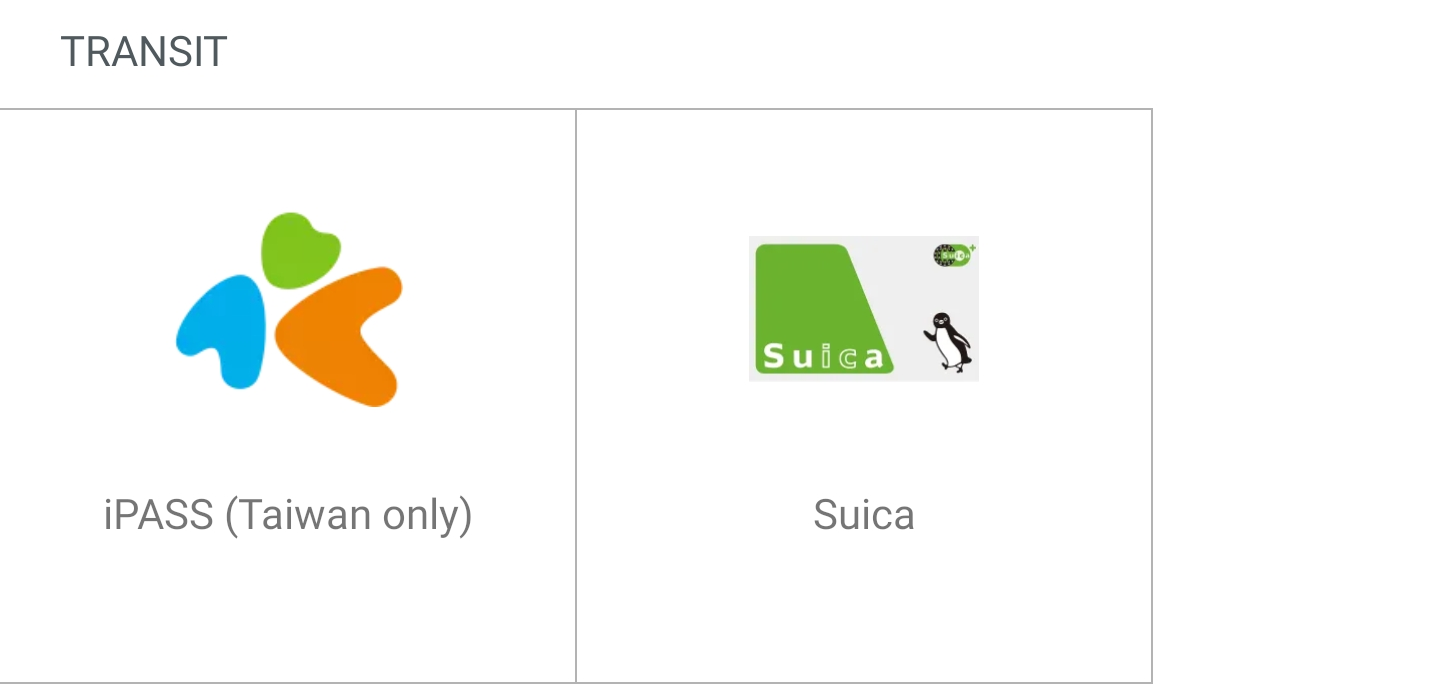
At the time of writing, the Fitbit Charge 4 (Japan model only), Charge 5, Sense, Sense 2, Versa 3 and Versa 4 (all models) are listed as being compatible with Suica. However, if you are a visitor to Japan, the Suica tile probably won’t appear in the wallet configuration in the Fitbit app – in my case, the only transit option listed was iPASS (Taiwan only).

(As an aside, read Joel Breckinridge Bassett’s blog for the gory details on why your non-Japanese Android phone won’t work with Mobile Suica.)

Enabling the Suica tile

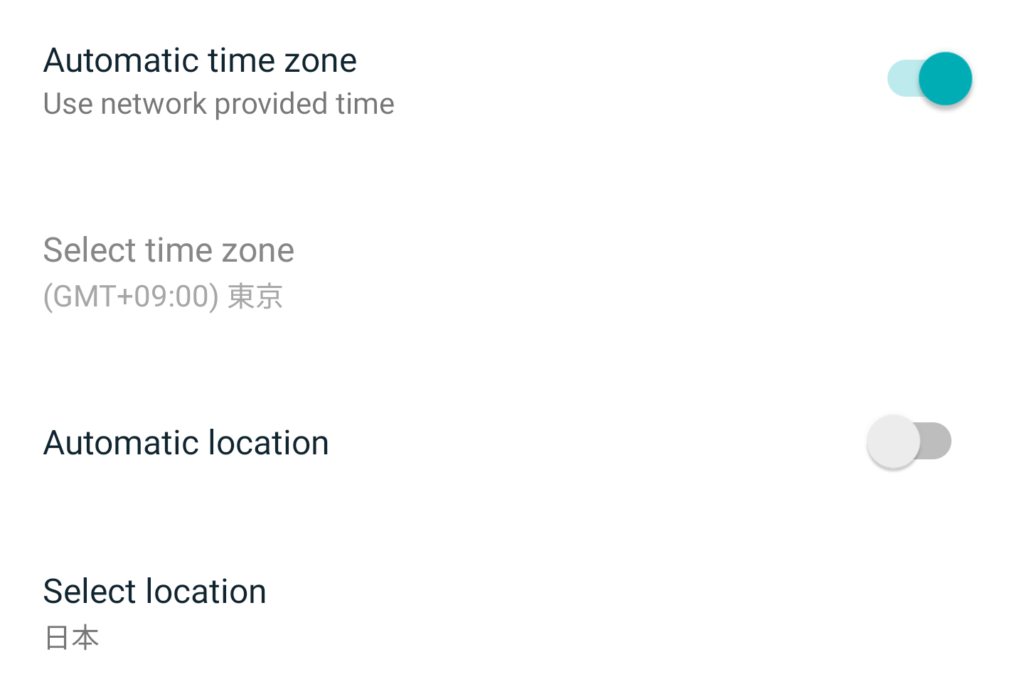
I tried doing a factory reset of my Versa 3, changing the language of my phone and changing the location setting in the Fitbit app (‘Select location’) to no avail.

Settings irrelevant to enabling Suica support

It turns out the key to enabling support is to change one’s Fitbit account country. This setting doesn’t appear to be exposed in the Android app, but can be changed via the website.

Switch this to Japan, open the Fitbit app and the Suica tile should appear.

大成功!

Support doesn’t even seem to be geofenced – I still see the tile with a Hong Kong IP address.

Adding funds

Unfortunately, it’s not necessarily smooth sailing from here. I was unable to add funds (error message: The system is busy) with my Australia-issued Mastercard credit card and Visa debit card. However, American Express cardholders may be in luck:

Non-Japan-issued Visa card payments have been blocked for Apple Pay Suica/PASMO/ICOCA since August 2022, but seemingly even Mastercard won’t work for Fitbit Suica. This is a shame, given American Express credit card payments incur a 3% international transaction fee (at least in my case), and I keep a fee-free Mastercard largely for this purpose. Perhaps being unable to dodge fees is fitting.

TeamViewer (sometimes) doesn’t work with DNSSEC enabled

Update (2022-12-06): It looks like TeamViewer fixed their DNS config (before and after).

Update (2022-11-12): I tested again after Frankie in the comments noted that it works on his machine, and indeed it does for me, too, even with DNSSEC turned back on. My only explanation is that it’s an intermittent issue.

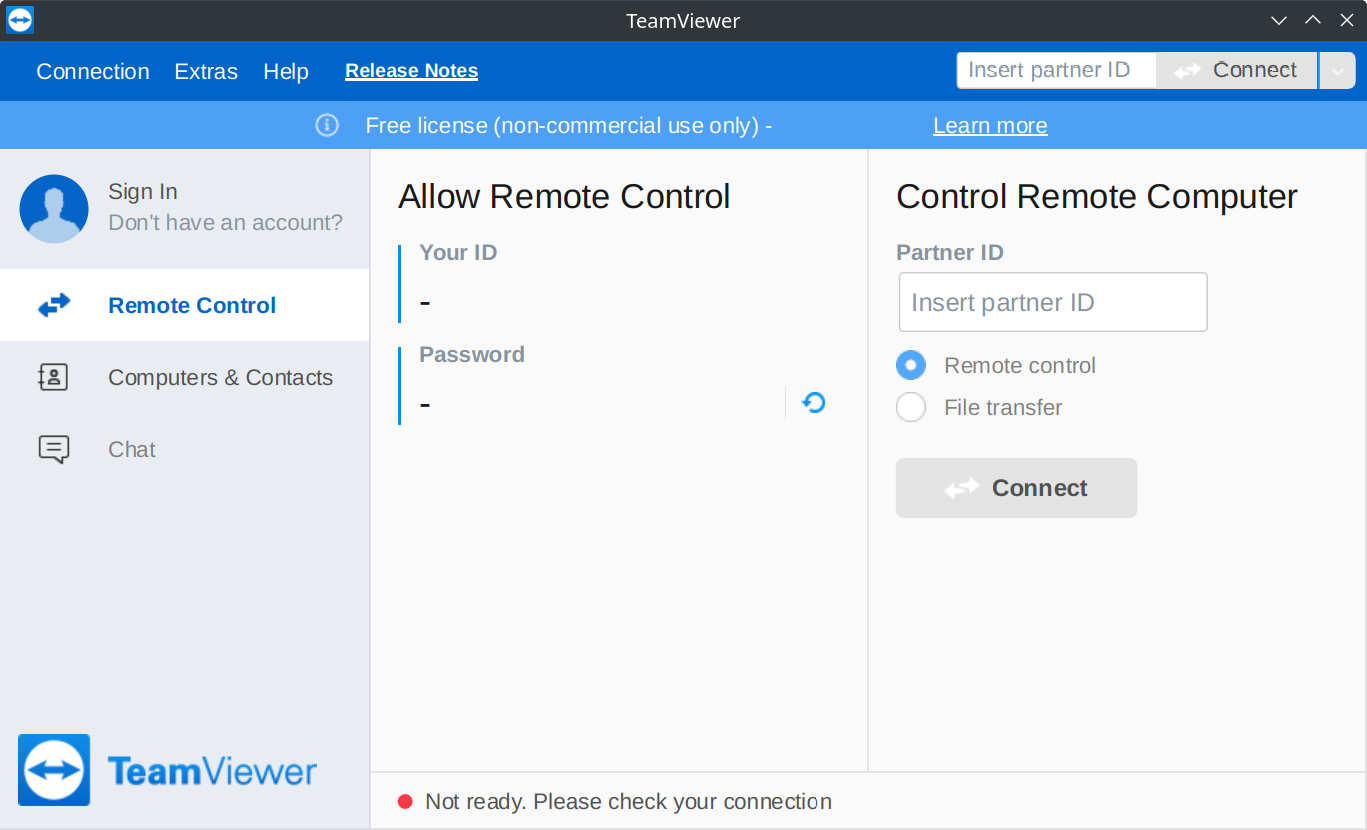
I couldn’t figure out why TeamViewer was perpetually stuck in the ‘Not ready. Please check your connection’ state, and the help article didn’t give any clues (port 5938 was already open for outbound connections).

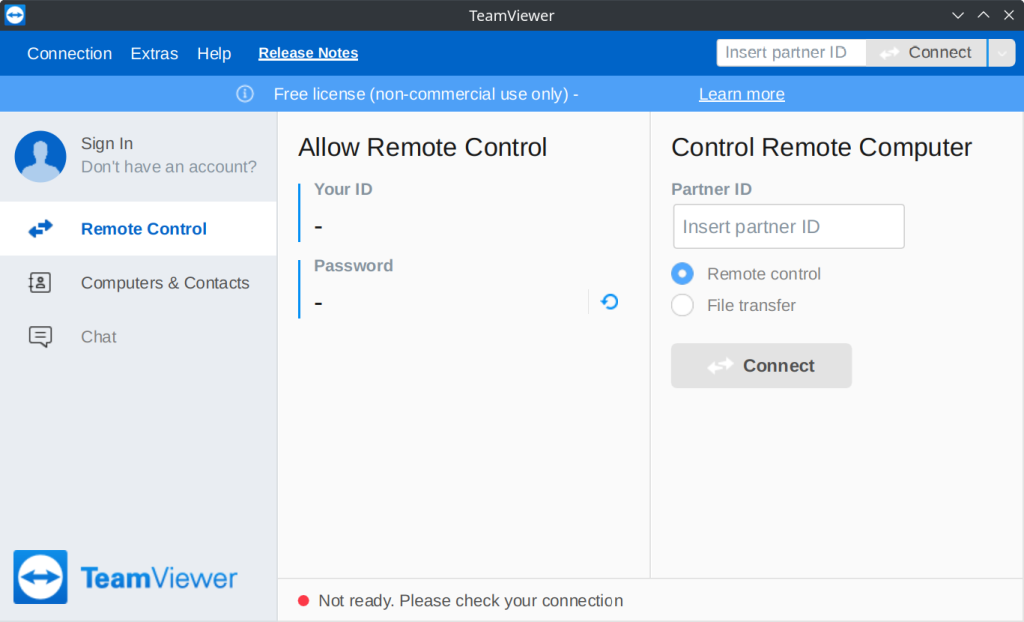
The dreaded ‘Not ready. Please check your connection’

The log files (/opt/teamviewer/logfiles/TeamViewer15_Logfile.log in Fedora) gave a hint:

The host would cycle from router1.teamviewer.com to router16.teamviewer.com, but none of them would resolve. Long story short, DNSSEC is broken for these TeamViewer domains, and the application won’t work if none of them can be reached.

Sadly, this problem was reported years ago but nothing has changed.

Workarounds

Neither of these is good! I recommend contacting TeamViewer and letting them know about this issue (particularly if you’re a paying customer).

Hard code an IP address in hosts

Adding an IP address for router1.teamviewer.com to hosts seems to make the application functional.

I just picked the first IPv4 address and added it to /etc/hosts:

These IP addresses are of course liable to change.

Disable DNSSEC

Note: DNSSEC exists for a reason – don’t disable it unless absolutely necessary.

The nuclear option is to turn off DNSSEC checks entirely, or switch to using DNS servers that don’t support it in the first place (I recommend neither).

On Fedora 36 with systemd-resolved, this means editing /etc/systemd/resolved.conf and adding DNSSEC=no under [Resolve].

WebRender in Firefox 83 in Fedora 33 (KDE 5.20, X11)

I wanted to test out WebRender in Firefox now that it’s on the brink of being turned on by default in GNOME environments. Despite enabling gfx.webrender.all, about:support showed that WebRender wasn’t working and reported errors including Failed to load EGL library: FEATURE_FAILURE_EGL_LOAD_3 and Failed GL context creation for WebRender.

Fixing this in my environment (Fedora 33, KDE Plasma 5.20, X11, AMD Mesa) came down to simply installing libglvnd-gles.

I’m not sure if this is required for other hardware configurations or desktop environments or under Wayland. I like trying out the latter with each KDE Plasma release, but while things seem to be getting better, the number of crashes still makes it feel very far from being ready for prime time.

VA-API hardware video acceleration

A significant advantage of WebRender is that it enables support for VA-API hardware video acceleration. Just set flags media.ffmpeg.vaapi.enabled to true, media.ffvpx.enabled to false and environment variable MOZ_X11_EGL to 1 to give your CPU a nice rest.

In related news, I’m excited to see progress on this long-standing bug that should mean VLC’s VA-API option actually works under AMD Mesa. (Update: Mesa 20.3.2 is available for testing, and it’s working well.)

High sensitivity headphones are picky about amps

Recently I decided to upgrade a pair of long in the tooth Shure SE215 IEMs after one too many wonky cables and a disintegrating right ear piece (the drivers are working as well as ever). I settled on the Shure SE535, and even if the 4x price increase hasn’t made my music sound four times better, I’m happy with the purchase.

I was less thrilled to hear a soft hiss when I plugged them into my handy (and affordable) Audioengine D3 DAC/amplifier. Fearing it was a defective product, I sought to have it replaced, but could only get a refund due to a lack of stock. I next ordered the similarly priced Dragonfly Black, and much to my dismay this device exhibited exactly the same issue.

As it turns out, their low impedance (36 Ω) and very high sensitivity (119 dB SPL/mW) make the SE535 IEMs easy to drive and suitable for portable devices with low output at the cost of not meshing so well with amps designed for headphones with higher impedance and lower sensitivity. After doing some more research I ended up with the FiiO K3, which is almost (but not quite) silent with no audio playing, and still within my desired price range. Regrettably Schiit products are overpriced in Australia, so I had to rule them out.

TL;DR: your fancy new IEMs might not be suited to your amp. Do your research before you buy.

Ubuntu 16.04: heirloom-mailx is replaced by s-nail

As of Ubuntu 16.04, the heirloom-mailx package is a transitional package for s-nail.
Not realising this, I was having trouble with mailx not recognising the /etc/nail.rc file I’d copied from a working Ubuntu 15.10 server. As it turns out, the global config file path for s-nail is /etc/s-nail.rc. I found this out quickly by using strings to find the text '.rc' in the mailx binary: strings /usr/bin/mailx | grep '\.rc' (thanks to jpollard for this tip).

Beware of the MiniNT registry key

As of Windows 10 Version 1511, ReFS isn’t available by default as an option when formatting drives that aren’t part of a Storage Space. It’s easy, however, to enable this functionality by adding a DWORD named AllowRefsFormatOverNonmirrorVolume under the Registry key HKEY_LOCAL_MACHINE\SYSTEM\CurrentControlSet\Control\MiniNT (an example guide can be found here).
Unfortunately, the presence of MiniNT Registry key causes various Windows components to think they’re running in the Windows Preinstallation Environment. Significantly, the presence of the key breaks the Event Viewer – attempt to open any log and you’ll be greeted with the following very unhelpful error message:

Event Viewer cannot open the event log or custom view. Verify that Event Log service is running or query is too long. The request is not supported (50)

If this weren’t enough, apparently Windows PowerShell remoting will stop working, too.
TL;DR: Delete HKEY_LOCAL_MACHINE\SYSTEM\CurrentControlSet\Control\MiniNT as soon as you’re done formatting your drive with ReFS.

RealPlayer/RealDownloader poses as Firefox running on 64-bit Linux and sends HEAD and GET requests

I recently noticed some strange HTTP logs where a resource would be requested twice with two different User-Agent headers. In one case, the first request suggested the client was running Chrome on Windows, while the second request indicated that it was coming from Firefox on Linux. This didn’t make a lot of sense, so I did some digging.

The culprit turns out to be RealPlayer (and previously RealDownloader, a separate application that now seems to be abandoned). RealPlayer places an overlay over supported browsers (Internet Explorer, Firefox and Chrome and possibly others) that allows the user to save videos from web pages. It doesn’t seem to be a browser plugin as such – it runs in its own process and sends HTTP requests independently of the browser.

RealPlayer browser overlay

The software just happens to set the User-Agent header to something like Firefox running on 64-bit Linux. I sacrificed a virtual machine and installed all manner of RealPlayer software to try and reproduce this behaviour, and the latest version sends requests like the following:

My browser’s actual User-Agent header is:

Based on this blog post and this Yahoo! Answers question, the following User-Agent header was used by an earlier version of the software:

The Gecko build date and Firefox version number (but not the ‘rv’ token!) have been bumped up, but everything else (including the weird trailing ‘Chrome’ identifier) are the same.

I bet somebody got a really nice bonus for that feature: The 'Get Windows 10' notification area icon

As the great Raymond Chen once wrote:

I often find myself saying, “I bet somebody got a really nice bonus for that feature.”

“That feature” is something aggressively user-hostile, like forcing a shortcut into the Quick Launch bar or the Favorites menu, like automatically turning on a taskbar toolbar, like adding an icon to the notification area that conveys no useful information but merely adds to the clutter, or (my favorite) like adding an extra item to the desktop context menu that takes several seconds to initialize and gives the user the ability to change some obscure feature of their video card.

The ‘Get Windows 10’ application that Microsoft deployed to Windows 7 and 8.1 machines earlier this year as a recommended – not even optional – update (KB3035583) sure fits this bill.

In short, every eligible Windows 7 and Windows 8.1 user ends up with this icon in their notification area: Get Windows 10 Icon

Apart from looking fairly ugly (that top edge in particular is a blurry mess), there’s no way to close it even temporarily, short of killing GWX.exe in the Task Manager – note also that no-one thought to give it a descriptive name; it’s just ‘GWX’.

I understand Microsoft’s desire to have users promptly upgrade to Windows 10 (even if I wish they would delay its release by a year or so), but this kind of approach just destroys goodwill.